
I use the photo processing site Picnick.com. Picnik has made photo editing so easy and fun it's addicting - and it free. In the past I have used Photoshop CS to edit my photos, but now I only us Picnick, and am very happy with the results.
Here's how you do it.
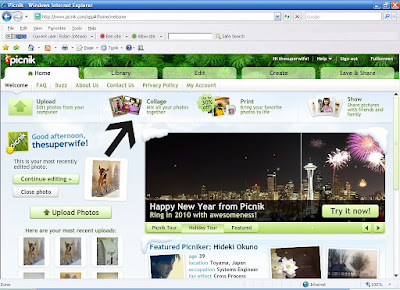
Step 1: Go to Picnick.com
Step 2: Upload and edit photos if you would like. Then click "Collage" on the home page.
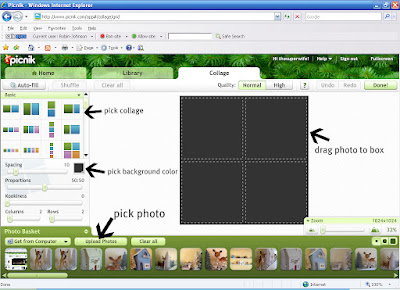
Step 3: Pick the collage you would like to use from the list on the left of the screen. You can change the background color by clicking on the color box also on the left of the screen. Play around with the settings until your happy with the results or just use the presets.
Next add photos: At the bottom of the page you'll see a green folder labeled "Photo Basket". From here you can upload your edited photos', upload additional photos from your computer, or look in your history for previously used photos.
Click and hold the left mouse key on the photo you want to use and drag the photo into the box you want to place it in. Then let go of the mouse key. Your photo will pop into the box. Repeat steps until all your boxes are filled. Reposition photos' within your boxes by clicking on them and moving them up, down or side to side.
 Step 4: Finish your collage by clicking the done button on the top right of the screen.
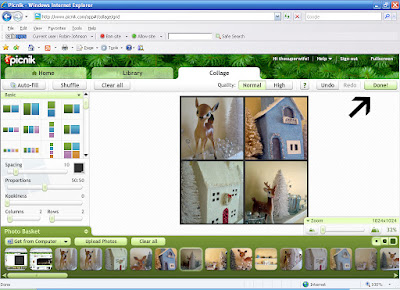
Step 5: Add text, stickers, etc. by Clicking on the "Create" tab. When your finished, click the "Save and Share" tab in the upper right corner.

Step 6: Save your collage. Click the "Save your photo" button at the bottom of the page. Make sure to save it in .jpg.

That's it - so fun and easy. Now you can print them up, use for scrapbooking or for a blog banner.
THANK YOU, ROBIN!! I so appreciate the info. I'll be playing with picnik this week. Mimi
ReplyDeleteRobin, thanks SO much! This looks like something fun to do. I might give it a whirl!
ReplyDeleteXO,
Sheila :-)