
Remember back to this past spring when I gave my living room a fresh new look? Remember the two arm chairs I slip covered? I had promised a tutorial . . . and then forgot about it.
Better late then never I guess. To review, here's how the room looked this past spring. You can see the two chairs under the photo ledge.

I won't go into to much detail since there are so many wonderful tutorials out there, but I will touch on a few tricky spots that I hope will be helpful.
Unfortunately I did not take photos while I was sewing because I truly didn't know how it was going to turn out since I was sort of winging it.
Basically I used three pieces of fabric to construct the slipcover. Piece #1 covered the front of the backrest and down to the front of the seat. Piece #2 covered the back of the chair. And Piece #3 covered the base of the chair from the seat edge to the legs.
The first tricky area to tackle was the area at the base of the chair where the arm touches the seat cushion.
Basically once I had the fabric on the chair, I traced around the arm with a pencil. Then I removed the fabric from the chair, added a visual 1/2 inch seam allowance and cut out the rectangle shaped area. I then repositioned the fabric on the chair to see if it fit. Once I was happy with the cut, I zigzagged the edges, folded over the seam allowance and sewed along the edge.

The next thing I did was add a band at the bottom of the chair. I needed to attach it in three different sections. The first section was attached on the left side of the chair right at the edge of the armrest and runs to the back of the chair. The second section, I did the same thing on the right side of the chair. The third section attached to the front of the chair cushion and ran around the corners to over- lap with the first two sections I had already sewn on.
Here you can see the first section sewn on and the overlap from the front of the chair.

And here it is once it's pinned in place. Velcro was then sewn on to hold the two pieces together.

Here you can see the front of the cushion and how the band is sewed along the front and wraps around the edges.

Here you can see a better view of the three pieces I've talked about. In the middle is the cushion cover with the corner notched out from the armrest. To the left is the band that runs from the back of the armrest to the backside of the chair. And finally, in the front you can see the band that is attached to the front of the cushion then wraps around the corner of the chair and attaches to the side band after the armrest. Whew! Hope that make some sort of sense.

The second tricky spot is the area where the armrest attaches to the backrest of the chair. Here is what it looks like when I was done.

Here's an angle looking from the back of the chair.

Basically what I did was from the top of the armrest to the top of the chair I had the fabric stretch across the whole width of the chair and wrap around to the back of the chair. For the section below the armrest, I sewed a small piece of fabric from where the backrest and the cushion meet up to and the bottom of the armrest. This piece then extended upward a couple inches past the top edge of the armrest.

It seems weird, I know, but when the top section is in place it covers and holds that flap in place which you can see below.

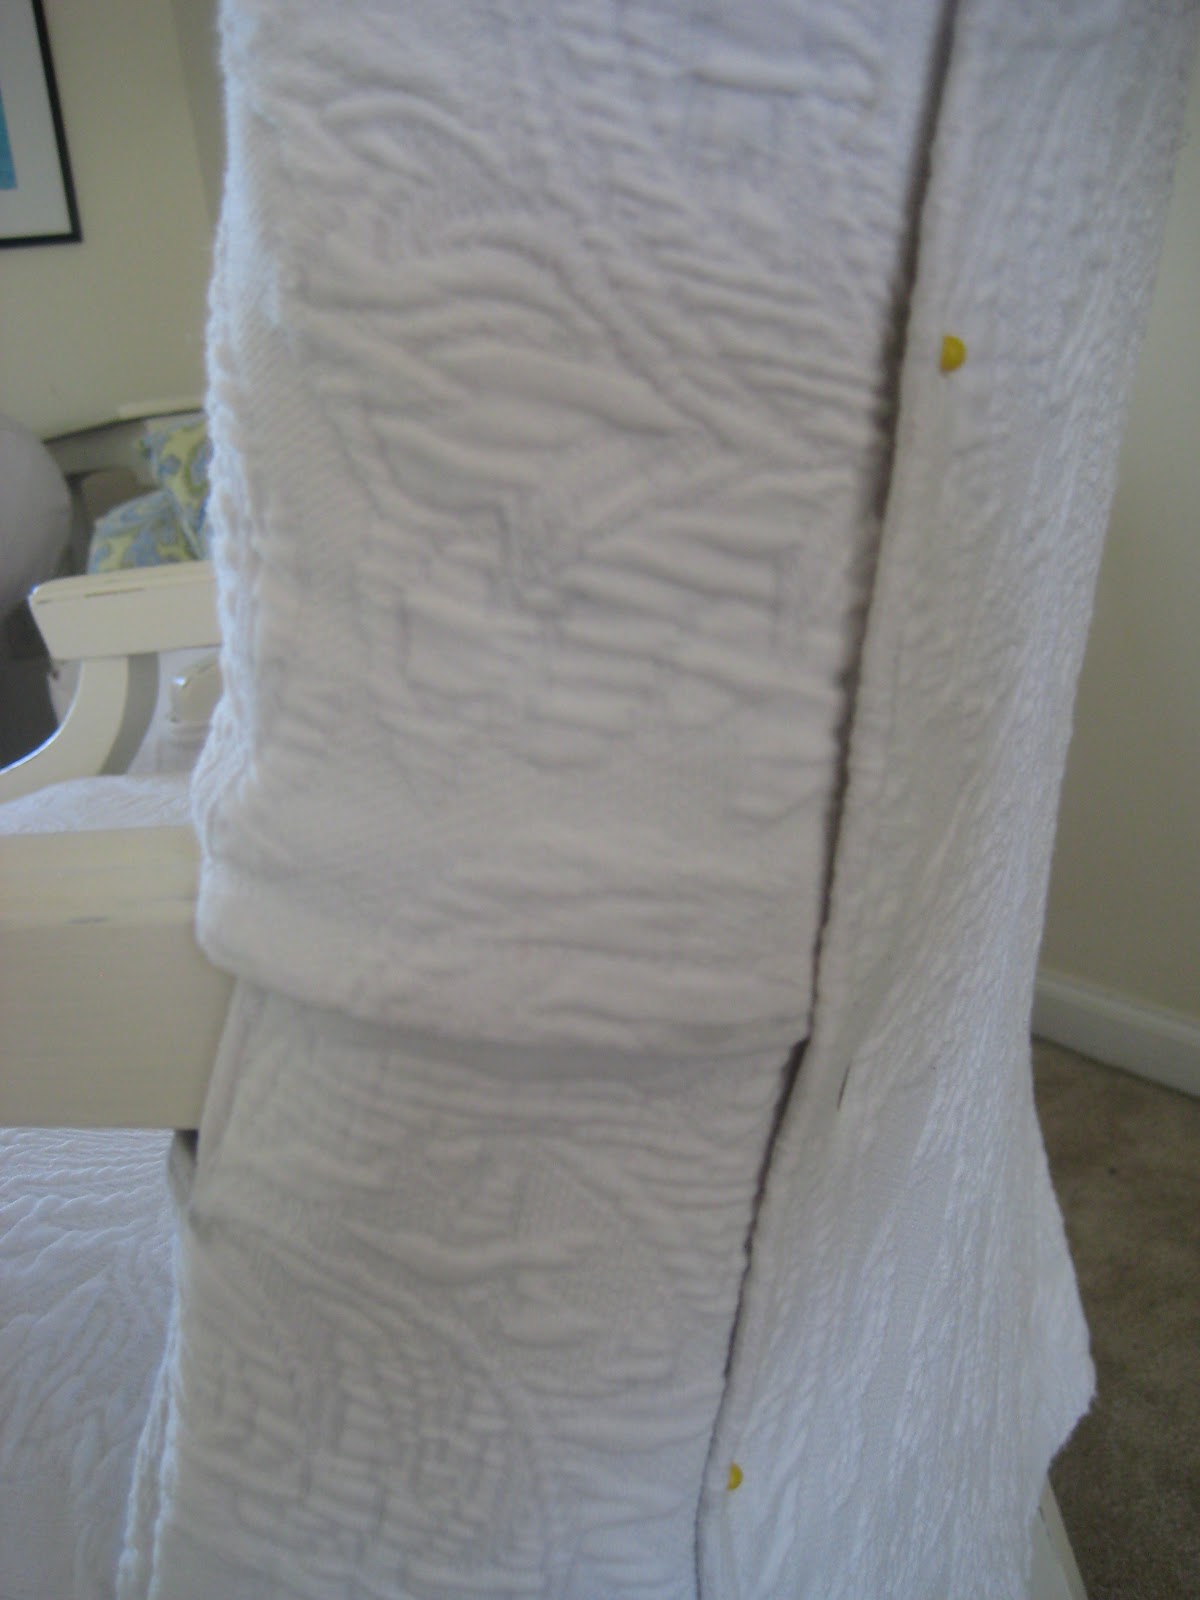
Here's what it looks like when it's all pinned in place.
And finally I had to deal with the top of the chair and the back.

I attached the back of the cover by sewing it onto the front piece. I sewed along the top edge and then down both sides of the chair about three inches. Since the backrest fabric wraps around the chair and attaches at the back of the chair I had extra fabric at the top corners of the chair. To deal with this issue I simply sewed in a dart at the top corners. Then I was able to make the fabric fold nicely to wrap around to the back side. I ran a quick basting stich along the fold to make lay nicely.

The back piece edges were then finished from the spot it was attached to the front piece to the bottom of the chair.
The finished chair looks like this.

I sure hope this was more helpful than confusing. LOL.
Talk to you soon,
Robin
Linked to:
That looks great, I should show this to my daughter, she has two chairs just like that. I love the fabric that you used.
ReplyDeleteHugs, cindy
My rocking chair that I am going to reupholster (some day before I die) has similar problem spots like those, so even though I'm not slip covering, it does come in handy. I guess I could be working on that rocking chair today, couldn't I? Or I could just go back to looking at my favorite blogs!
ReplyDeletethat was helpful thank you ...
ReplyDeleteUkrasno Bilje
so gorgeous - you've got skills girl - serious skills!
ReplyDeleteThese are beautiful. I really wish that I could sew like that! My mom used to sew a lot and was very good at it. I wish I had paid more attention!!
ReplyDeleteBrenda
Your chairs turned out so pretty and your tutorial was great! Thank you for sharing. I'll be featuring tonight. xo Jami
ReplyDeleteThose chairs are lovely! You did a great job and the tutorial is a good one!
ReplyDeletePopping in from Freckled Laundry!
Hello, any chance you might have a pattern for the slip cover or I can purchase one from you?
ReplyDeleteThank you, Jenne