
Good Morning!
Hope you all are having a fabulous Monday morning. I woke up this morning bright-eyed and bushy-tailed, ready to take on the day.
And what a day it's going to be.
My sister and I decided a trip to Ikea was in order after our beloved Green Bay Packers were unable to win their playoff game yesterday - - a devastating defeat for us.
So this morning, off we'll go to Ikea for a little retail therapy. LOL.
Before we head out I thought I'd show you a quick project I finished this past weekend for my studio space.
I have big plans for lots of sewing projects coming up so I thought it was time to make myself a tabletop ironing board - - digging out my full sized version is always a pain and no matter where I set it up it always seems in the way.
Here's how it turned out - - don't you just love it!

When I'm not using it I plan to simply lean it up against my workstation and it can double as a decorative piece to make the space more "me".

I made it nice and big so as to have plenty of space iron on.

Look how perfect it works . . . wish I would have done this years ago.
Very simple to make,
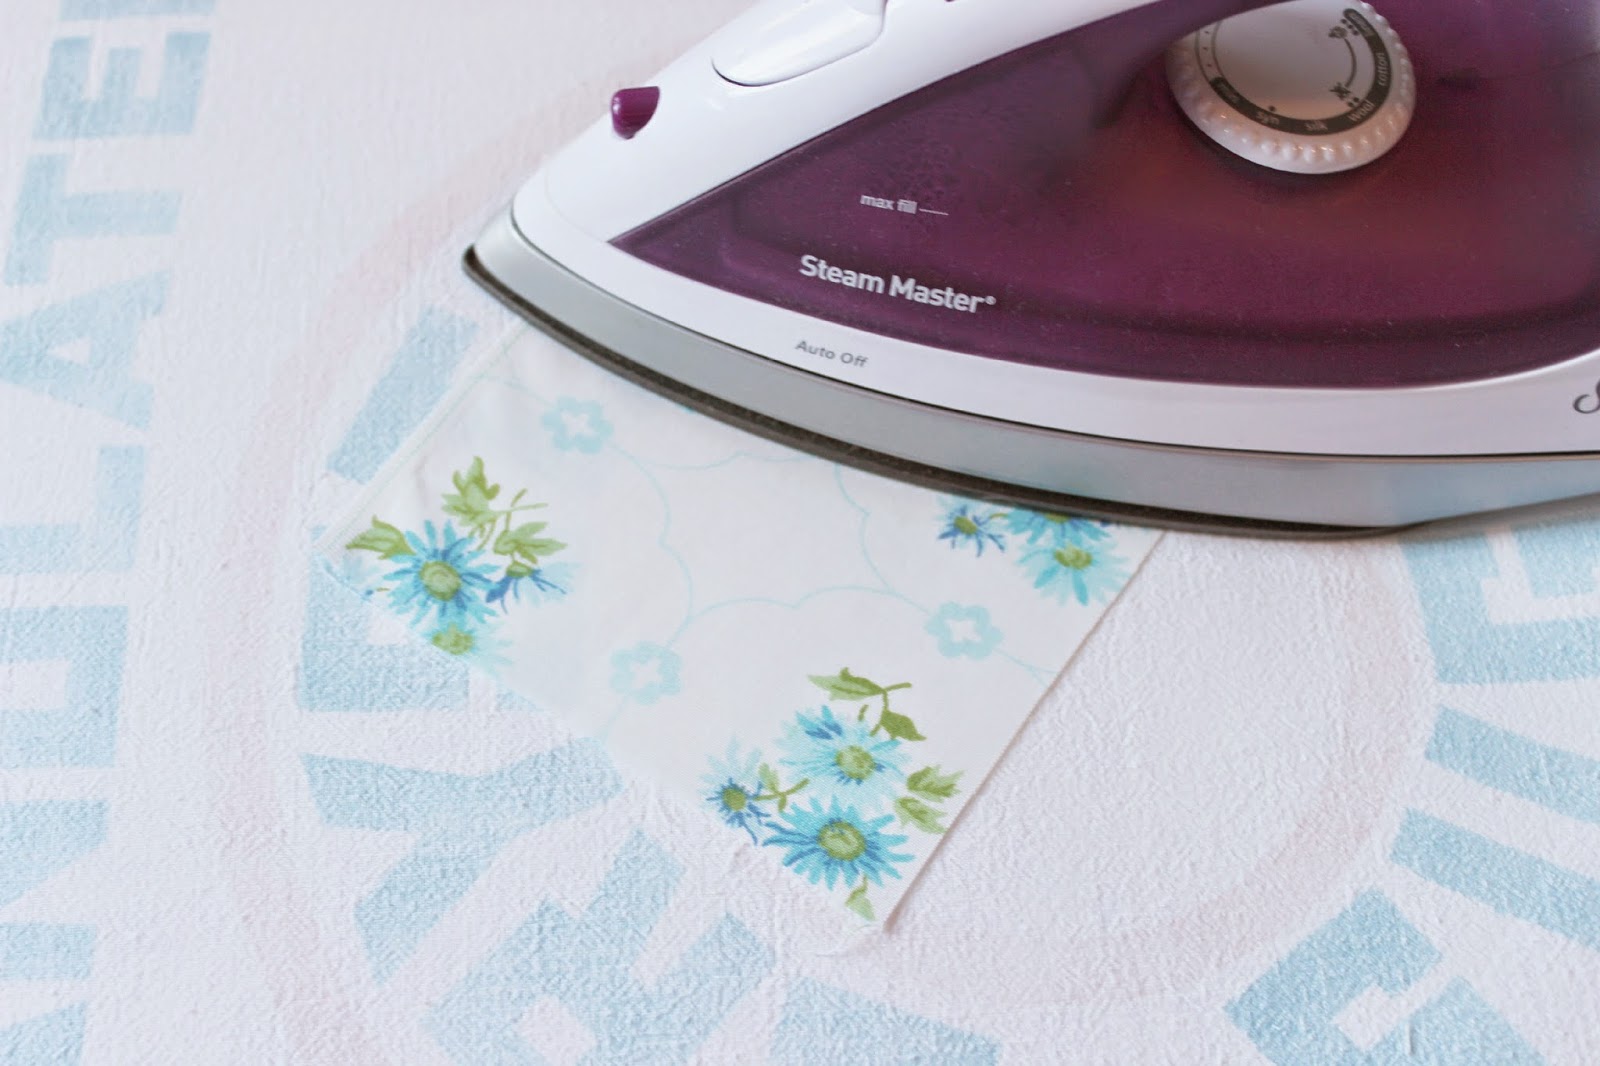
I took a big piece of plywood cut to the size I thought looked good. Two layers of quilt batting, and then my decorative sugar sack for the top fabric.

Starting with my top fabric, I laid it on the floor - right side down, layered the quilt batting on top and then layered the piece of plywood on top.
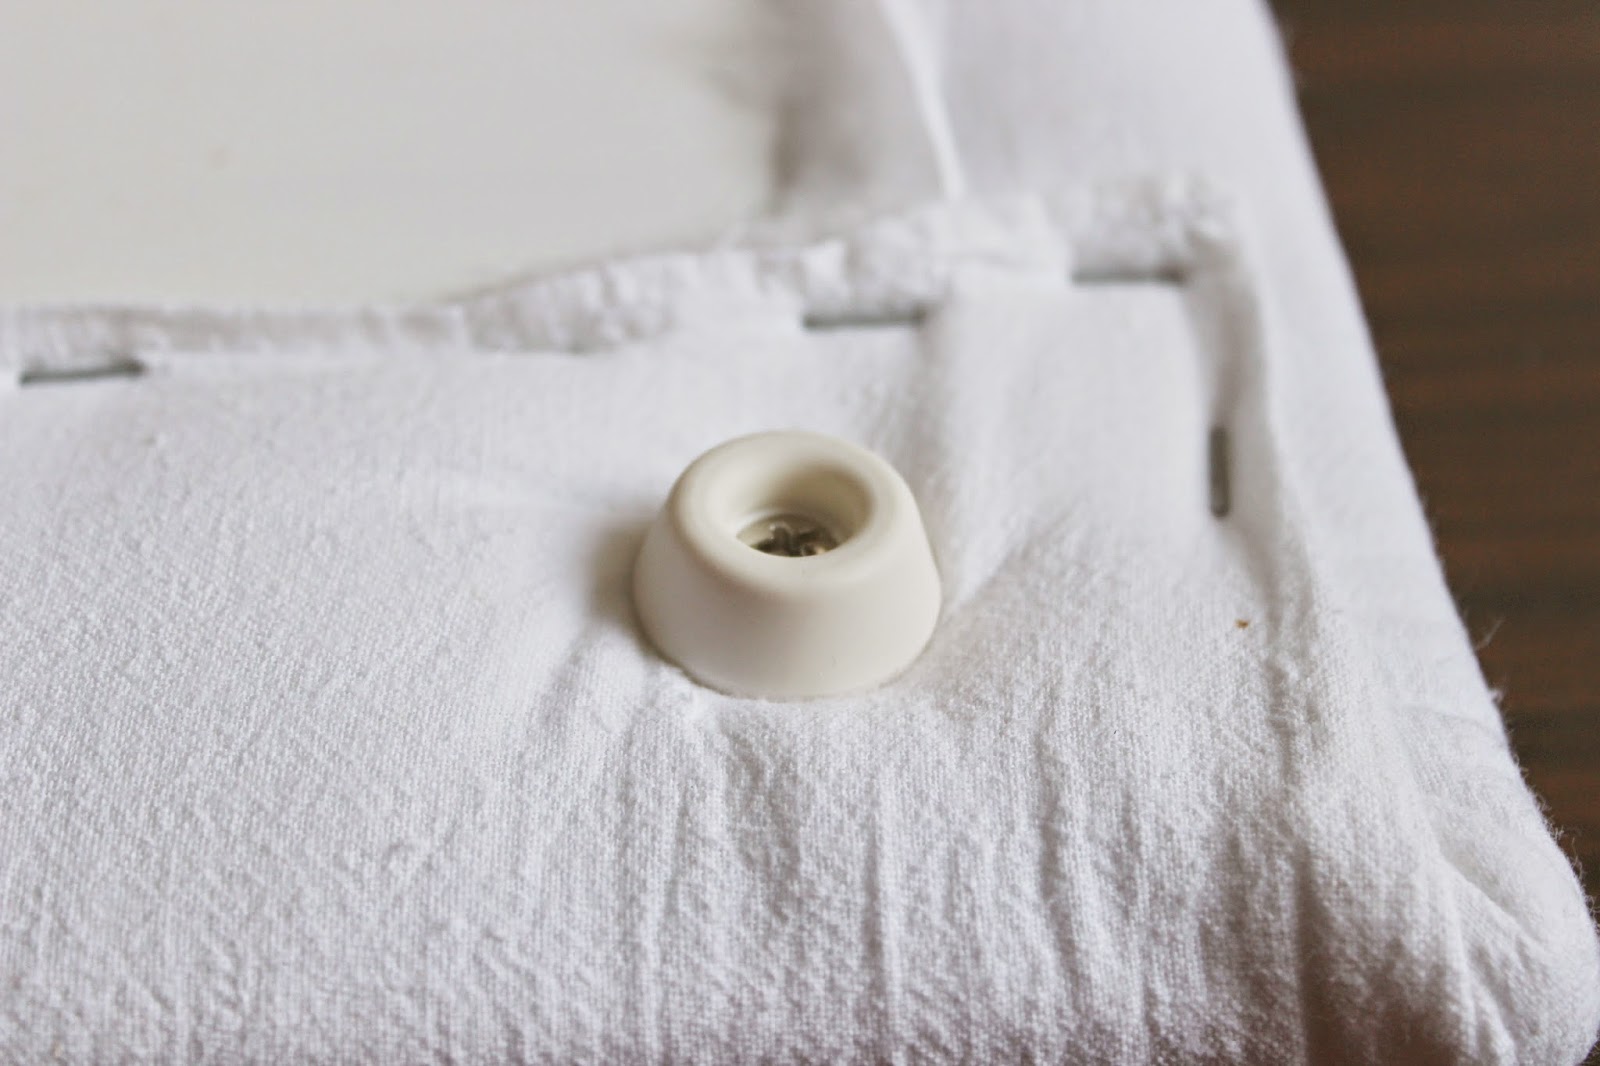
Using my trusty staple gun I then pulled all the fabric to the back side of the plywood and stapled the fabric in place.

The last step was to add some rubber feet to help protect my work surface.
I thought about maybe covering up the staples with some sort of trim but once I had the feet on it I didn't think it was necessary.
I love how it turned out and can't wait to use it on my next quilting project.

Bye now,
Robin
This is such a great idea, Robin...and it looks wonderful, too! Have fun at IKEA...good for what ails you lol!
ReplyDeletelove robin, they are sooo creative !!! love everything and a nice Tuesday of angie from Germany
ReplyDeleteI need one of these! Yours is so cute! I'm thinking I need to make one and I love that I could hang it in my laundry room for decor when not in use (which is most of the time).
ReplyDeleteHope you found some goodies at Ikea!
ReplyDeleteThis is a great idea...one I'd like to use for my trailer!
Thanks for sharing!!
I turn to read what you got from Ikea only to be positively surprised by the lovely DIY. I love how this turned out, it's both a useful piece and a decorative one. Thank you for sharing.
ReplyDeleteVery nice!!! Love that you can just set it down and bit is decrotive.
ReplyDeleteHave a wonderfully blessed week...
Sherri
I love how your project turned out! What a great idea. Can't wait to hear about Ikea, it's on my list of road trips to take.
ReplyDeleteSally
Super idea Robin!!! It will be so convenient when you need press something small~~~and so very cute when it's just waiting in the wings. Thanks for sharing:)
ReplyDeleteThis comment has been removed by the author.
ReplyDeleteThis is such a great idea, Robin. I'm like you when it comes to getting out the ironing board...I need one of these tabletop boards for smaller jobs.
ReplyDeleteMary Alice
P.S. I forgot to sign out of Rust & Feathers (our shop's blog that I write) and sign into my personal blog.
I have one of those, too, but yours is bigger and prettier. I covered an old cutting board with batting, insulbrite, & an old sheet. Then I made 2 pillowcase things to slip over the whole board. Mine seems to get dirty fairly often, so I can slip off the case & wash it & use the 2nd one in the process. It really does save so much time to have that little ironing surface right next to the machine. The sugar sack cloth is beautiful!
ReplyDeleteThank you for stopping by my blog for a sweet visit. It's always appreciated!
This is awesome Robin! Boy oh boy, am I ever going to do this for me!!! You're a genius my dear!
ReplyDeletehugs from me....
awww, your too kind. It is a very handy item to have around as I am quickly learning. Hugs Robin
DeleteJune said it all.... I so want to make one, I could use it at my center island so convent....bravo!
ReplyDeleteAnd the judges give you straight 10's
Xx
Dore
So creative, love it!
ReplyDeleteThanks so much for sharing at AMAZE ME MONDAY.
Blessings,
Cindy
Wow, this is a super idea! I had plans to adjust my small table-top ironing board (it's from Ikea haha, but has a iron 'pattern' underneath the batting that is visible when I use it for transferring images onto fabric) to be able to use it in my sewing room upstairs (the larger ironing board can stay downstairs). Now I have read your blog, it makes more sense and it will be easier to make one like yours! Thank you for the inspiration.
ReplyDeleteHave a nice day.
Anita
forgot to mention, that I often iron small items on a double folded tea-towel on a table in my laundry room :-)
DeleteI'm featuring this wonderful project this week at the Vintage Inspiration Party - I love it!
ReplyDeletetoo cute, robin! love that it's decorative when not in use--clever!
ReplyDeleteNice and interesting post with the details of ironing board to be used. Thank you very much for the sharing.
ReplyDeleteCloth Drying Stand | Buy Cloth Stand Online
Ironing Board
ReplyDeleteYour statement is incredibly wise and well-founded. It's encouraging to see someone who has a thorough understanding of the subject at hand. Visit the article at CPS Test and enjoy a rewarding educational read. I appreciate how your CPS test fosters friendly rivalry and inspires individuals to increase their clicking speed. It's a fantastic method to enjoy yourself while improving your abilities.
ReplyDelete